Introduction

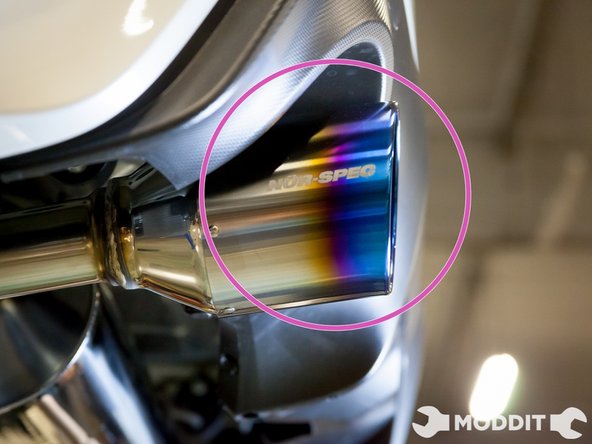
We will recount how to remove the factory and restrictive oem exhaust and how to install the brand new Blitz Nur Spec C-Ti exhaust. It's a pretty straightforward mod that extremely enhances the exterior looks of your car as well as exhaust flow.

  1. Raise car and secure with jackstands. Lay out your exhaust and identify all the parts needed for the install.
    • Raise car and secure with jackstands.

    • Lay out your exhaust and identify all the parts needed for the install.

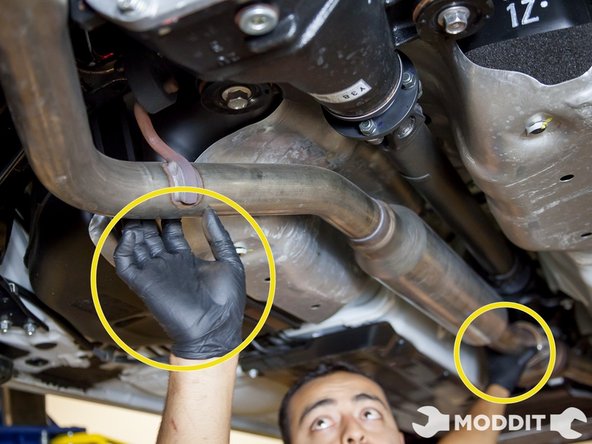
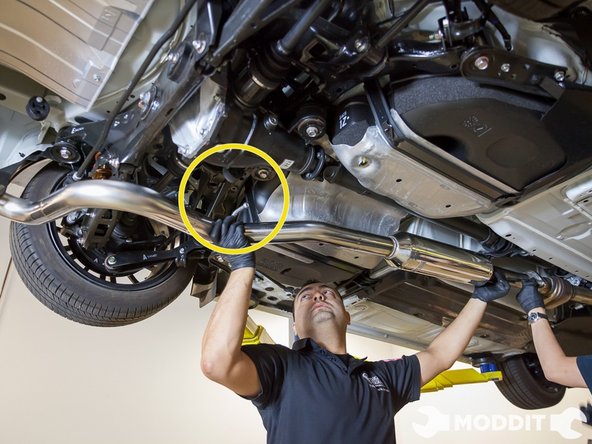
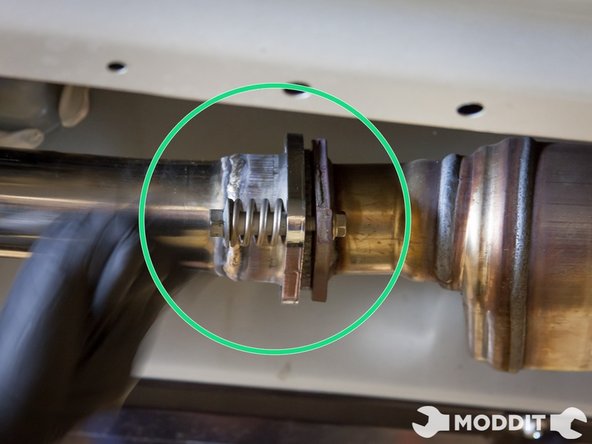
  2. Begin by removing OEM hardware. Remove two bolts at front of center section using one 14mm wrench and one 12mm wrench. 14mm toward the rear on the spring side of the nute. The 12mm is to the front of the car.
    • Begin by removing OEM hardware.

    • Remove two bolts at front of center section using one 14mm wrench and one 12mm wrench.

    • 14mm toward the rear on the spring side of the nute. The 12mm is to the front of the car.

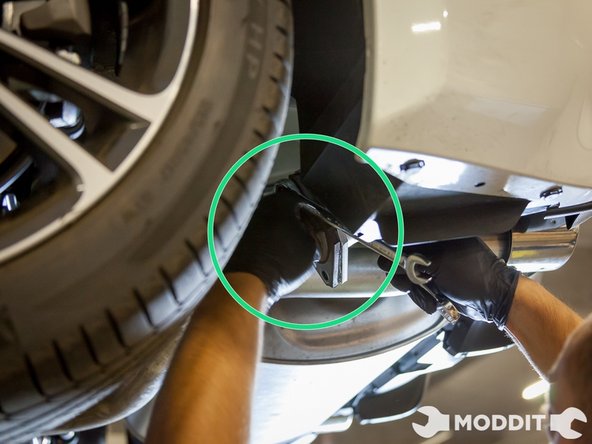
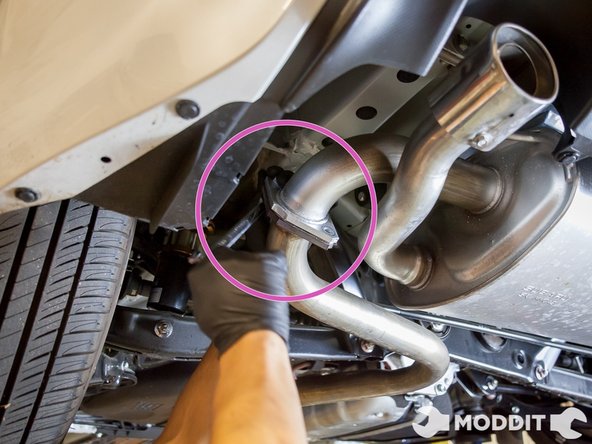
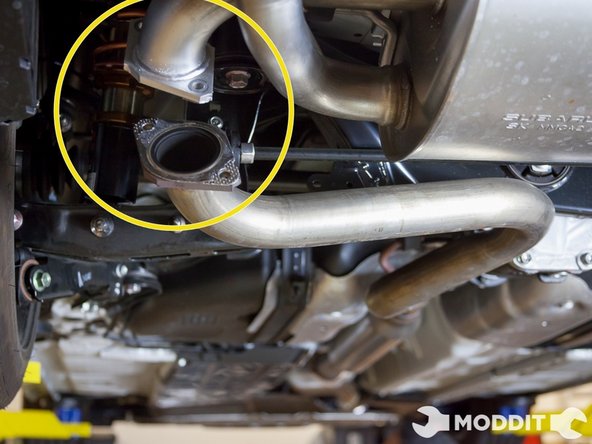
  3. Go to the rear of the car behind the rear wheel to remove the bolts connecting the two sections of the exhaust. You will need to use one 14mm wrench and one 14mm rachet to remove the hardware from the center pipe to the muffler to disconnect it. You will not need to reuse the rear hardware or exhaust with the Blitz exhaust
    • Go to the rear of the car behind the rear wheel to remove the bolts connecting the two sections of the exhaust.

    • You will need to use one 14mm wrench and one 14mm rachet to remove the hardware from the center pipe to the muffler to disconnect it.

    • You will not need to reuse the rear hardware or exhaust with the Blitz exhaust

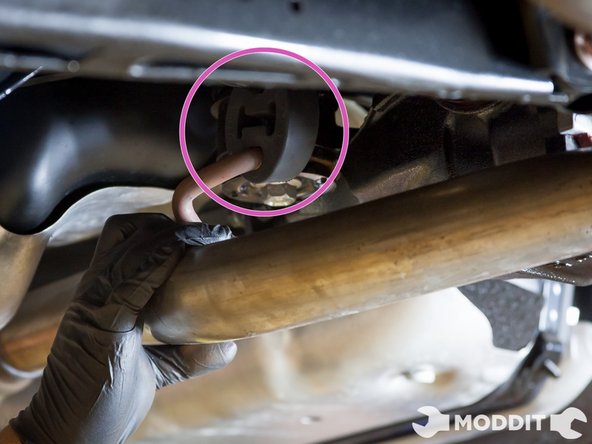
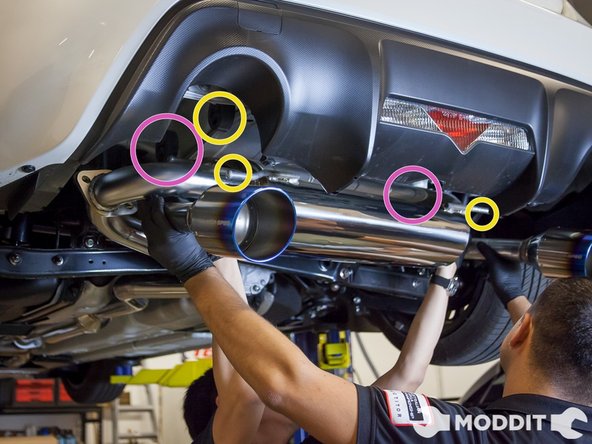
  4. White supporting the front, remove exhaust center pipe from exhaust bushings Having an extra hand here would make it a lot easier here.
    • White supporting the front, remove exhaust center pipe from exhaust bushings

    • Having an extra hand here would make it a lot easier here.

    • It should be relatively easy to pull the support out of the bushing.

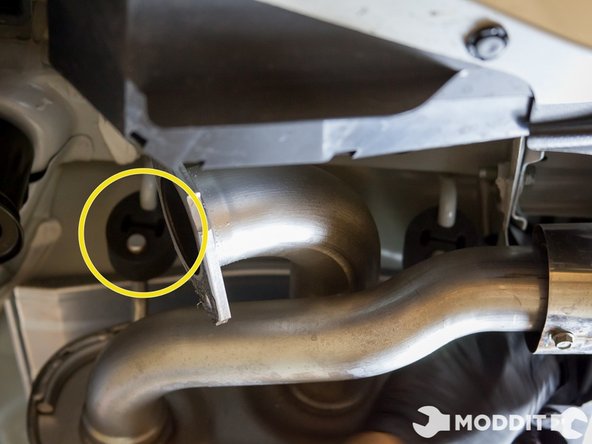
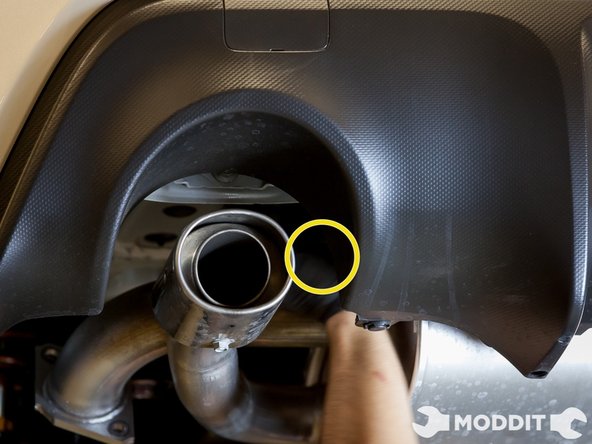
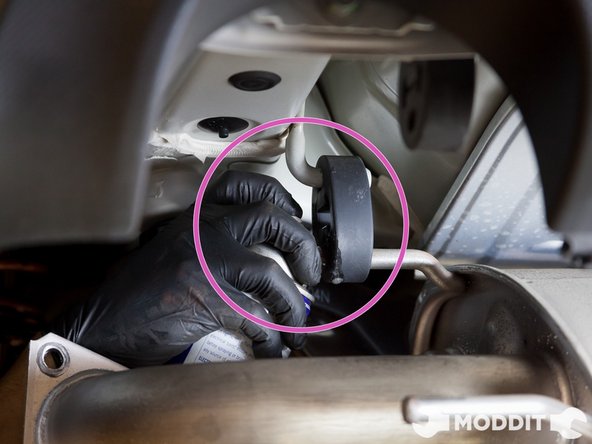
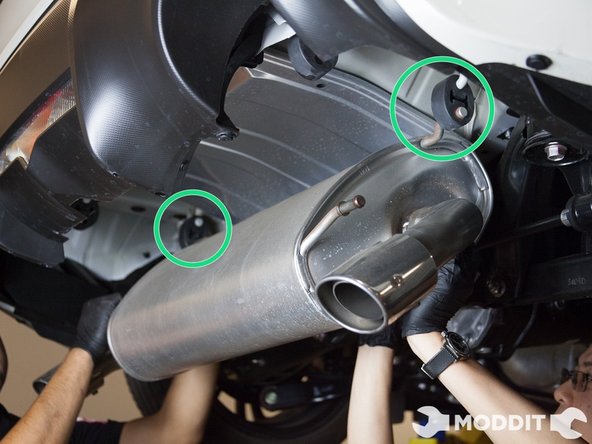
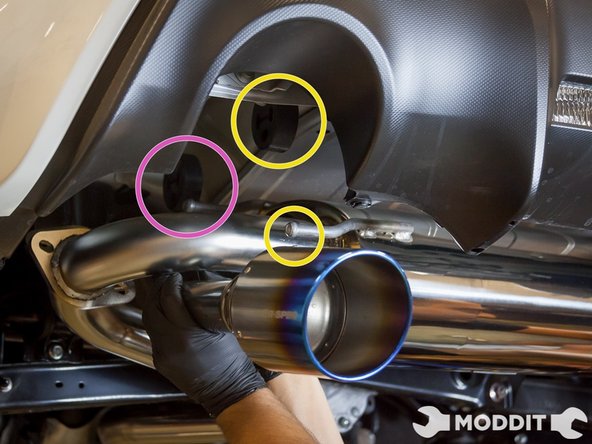
  5. Remove the two exhaust bushing closest to the rear of the car first so the exhaust tips do not swing up and hit your bumper. Be sure to put some cardboard on the ground below your exhaust so you don't scratch the exhaust when it swings down. Lubricant spray will assist in separating the bushing from the support.
    • Remove the two exhaust bushing closest to the rear of the car first so the exhaust tips do not swing up and hit your bumper.

    • Be sure to put some cardboard on the ground below your exhaust so you don't scratch the exhaust when it swings down.

    • Lubricant spray will assist in separating the bushing from the support.

  6. Have a another person support the exhaust and proceed to remove the other 2 exhaust bushings
    • Have a another person support the exhaust and proceed to remove the other 2 exhaust bushings

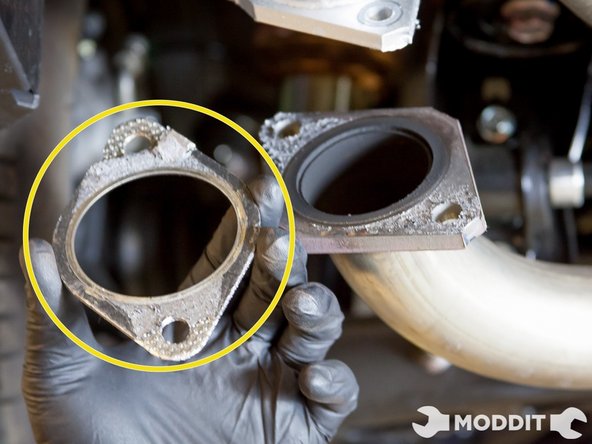
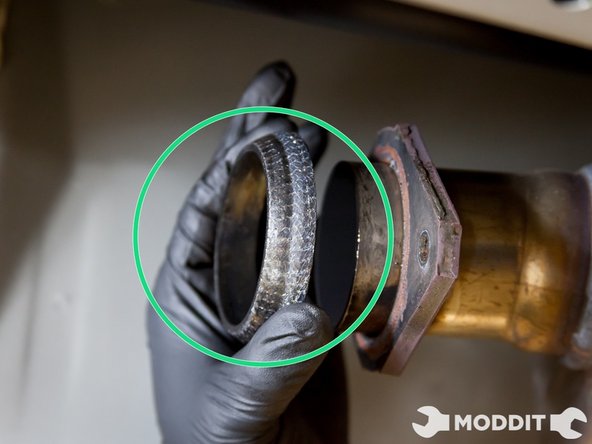
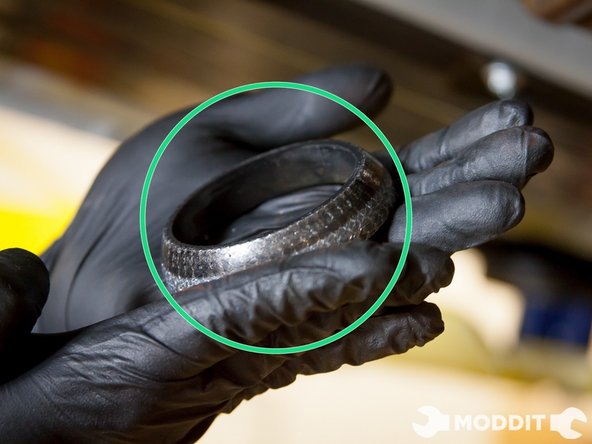
  7. Before installation of your new exhaust, check the front exhaust pipe sealant bushings for damages as you will be reusing it. Before installation of your new exhaust, check the front exhaust pipe sealant bushings for damages as you will be reusing it.
    • Before installation of your new exhaust, check the front exhaust pipe sealant bushings for damages as you will be reusing it.

  8. While supporting the front of the exhaust, install the hanger bushing. Reusing the hardware (with springs) install the exhaust bolts
    • While supporting the front of the exhaust, install the hanger bushing.

    • Reusing the hardware (with springs) install the exhaust bolts

    • Snug up bolts for now and we'll do the final tightening and torquing later.

  9. While supporting the muffler, install the front-most (in relationship to the car) exhaust hangers onto the bushing . Next, install the rear hanger onto the bushings
    • While supporting the muffler, install the front-most (in relationship to the car) exhaust hangers onto the bushing .

    • Next, install the rear hanger onto the bushings

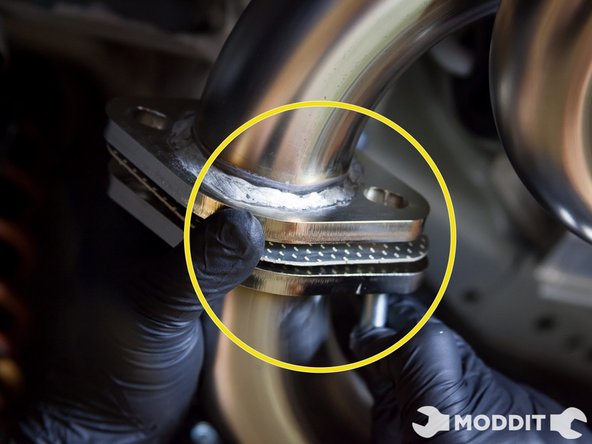
  10. Using the blitz provided hardware (2 bolts, 2 nuts and 1 gasket), bolt up the two exhaust sections. Install the bolt with head of the bolt toward the rear of the car. It will be easier to take out later. We recommend the red Loctite to secure the nuts and bolts.
    • Using the blitz provided hardware (2 bolts, 2 nuts and 1 gasket), bolt up the two exhaust sections.

    • Install the bolt with head of the bolt toward the rear of the car. It will be easier to take out later.

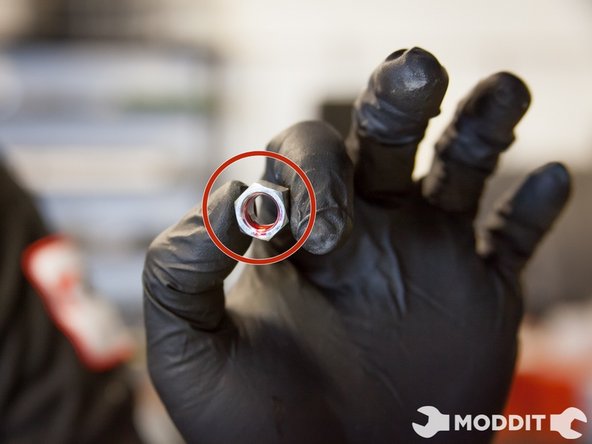
    • We recommend the red Loctite to secure the nuts and bolts.

  11. Proceed to torque the front exhaust bolts to (check here) ft lbs and the bolts to (check here) ft lbs.
    • Proceed to torque the front exhaust bolts to (check here) ft lbs and the bolts to (check here) ft lbs.

    • Enjoy the nice sound and great looks of the new exhaust

Finish Line

Dung Nguyen

Member since: 03/27/2013

842 Reputation

49 Guides authored

0 Comments

Add Comment

View Statistics:

Past 24 Hours: 0

Past 7 Days: 0

Past 30 Days: 4

All Time: 559

Copyright© 2019 Moddit