Introduction

Have an idea of how low you'd like the car and adjust the coilovers individually and mark them so you they will be even through all 4.

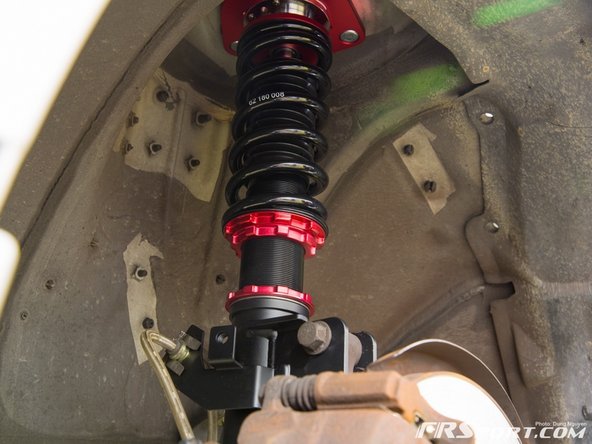
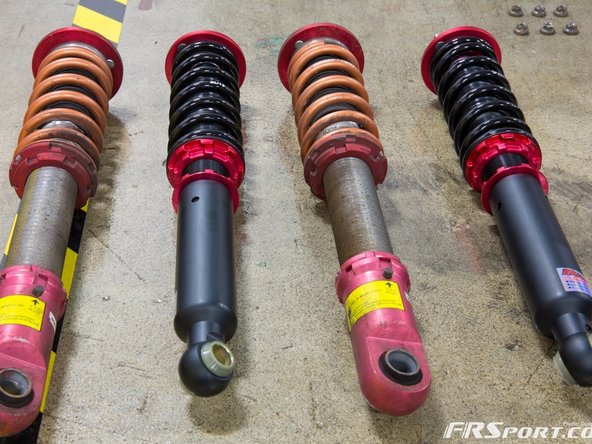
  1. Let's take a look at the new Blitz ZZR coilovers in comparison to the old KYB. Note: Before getting started be sure you have all tools necessary and a clean working space. Note: Before getting started be sure you have all tools necessary and a clean working space.
    • Let's take a look at the new Blitz ZZR coilovers in comparison to the old KYB.

    • Note: Before getting started be sure you have all tools necessary and a clean working space.

  2. Before installing the new coilovers, be sure to adjust the ride height on all 4 by loosening the lower collar and spinning the chamber to the height you choose.
    • Before installing the new coilovers, be sure to adjust the ride height on all 4 by loosening the lower collar and spinning the chamber to the height you choose.

    • It is also wise to check the tightness on the coilovers before installing. Always better to be safe than sorry.

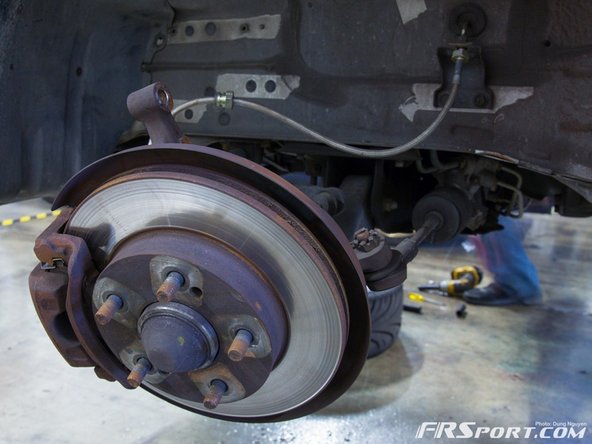
  3. Image 1: Jack up the car, or in this case use a lift. Image 2: Remove wheels Image 3: The brake cable is attached to the car by a metal clip, use a pry bar or needle nose pliers to remove the clip.
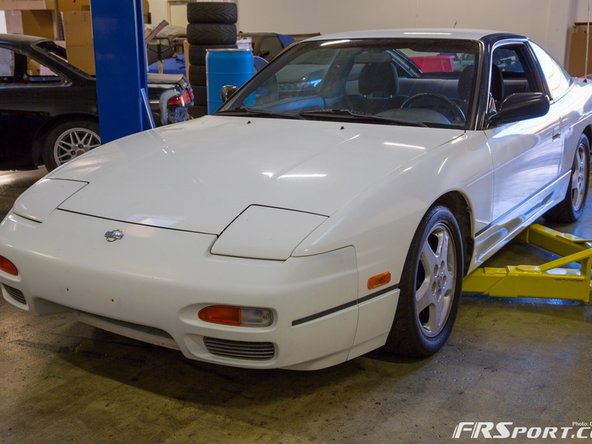
    • Image 1: Jack up the car, or in this case use a lift.

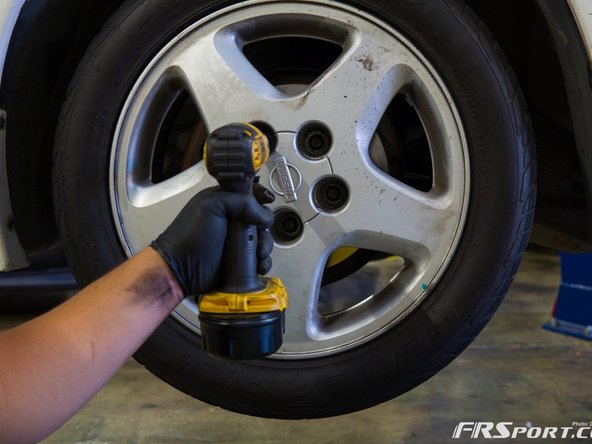
    • Image 2: Remove wheels

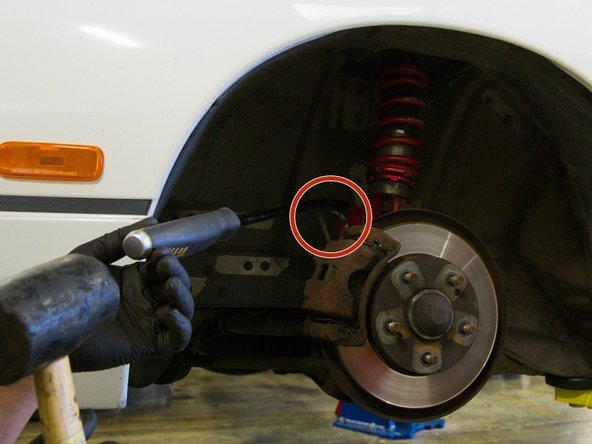
    • Image 3: The brake cable is attached to the car by a metal clip, use a pry bar or needle nose pliers to remove the clip.

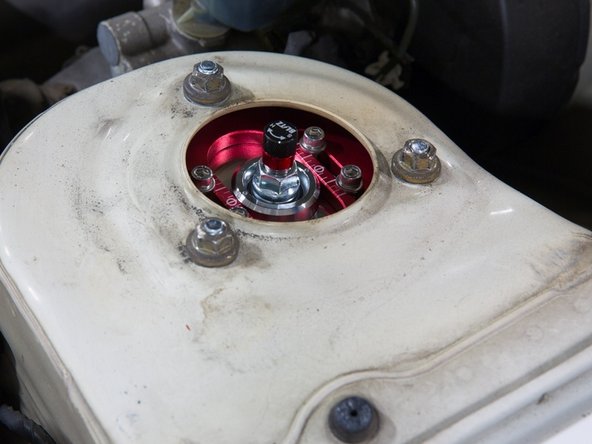
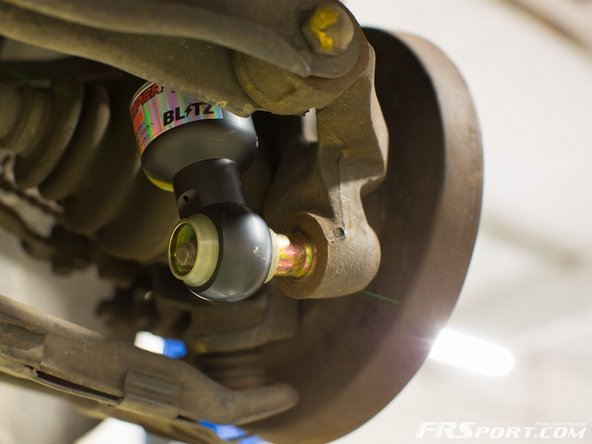
  4. Remove the two bolts from the strut to the spindle. Loosen the top 3 nuts on the strut tower. Once these are loosened you'll notice the coilover dropping, grab it with your hand or use a friend to help secure it so it doesn't fall.
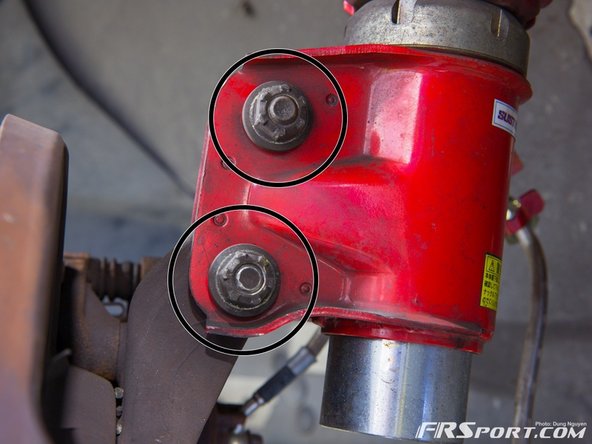
    • Remove the two bolts from the strut to the spindle.

    • Loosen the top 3 nuts on the strut tower.

    • Once these are loosened you'll notice the coilover dropping, grab it with your hand or use a friend to help secure it so it doesn't fall.

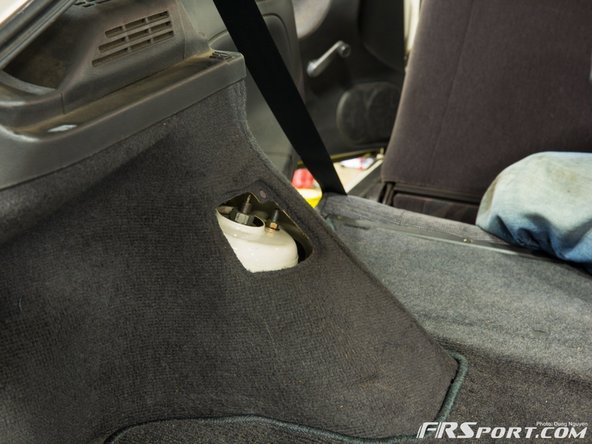
  5. Remove bottom nut so the bottom of the coilover is unattached. Find the cover for the rear strut tower and loosen the 3 bolts. Once these are loose you'll notice the coilover dropping.
    • Remove bottom nut so the bottom of the coilover is unattached.

    • Find the cover for the rear strut tower and loosen the 3 bolts.

    • Once these are loose you'll notice the coilover dropping.

    • Use a spare set of hands to grab the coilover and secure it while removing these nuts.

  6. Install the new coilovers the same way the previous ones came out. Put the studs through the top 3 holes and tighten the nuts hand tight. Align the bottom of the coilover up with the spindle and use some force to hold it up and align the holes.
    • Install the new coilovers the same way the previous ones came out.

    • Put the studs through the top 3 holes and tighten the nuts hand tight.

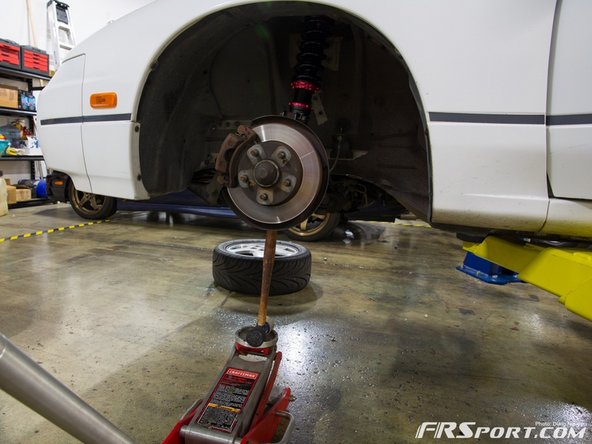
    • Align the bottom of the coilover up with the spindle and use some force to hold it up and align the holes.

    • We used a jack and a rubber mallet to hold up the spindle.

    • Install the brake cable clip

  7. Steps for installing are the same for front and rear. Install top mount into the holes and hand tight the nuts. Tighten bottom nut back onto knuckle.
    • Steps for installing are the same for front and rear.

    • Install top mount into the holes and hand tight the nuts.

    • Tighten bottom nut back onto knuckle.

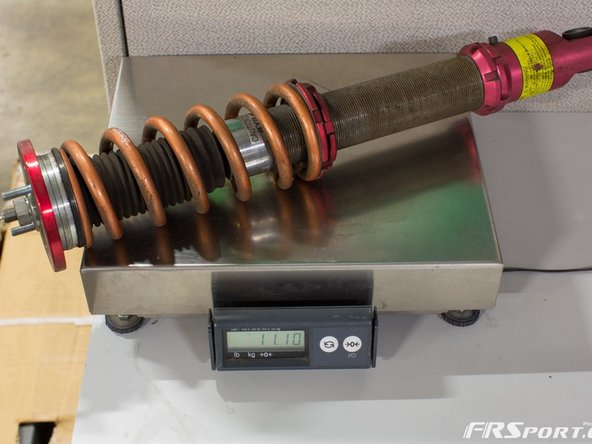
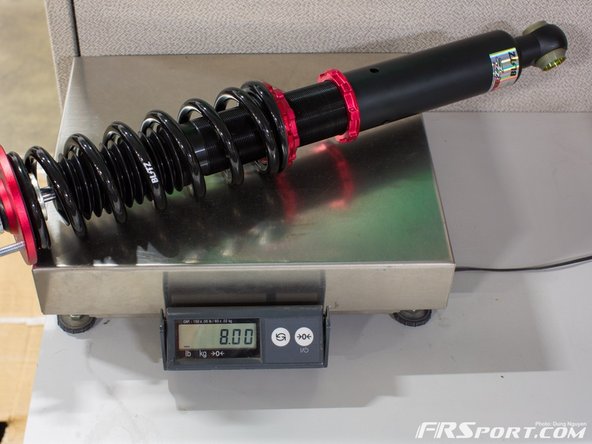
  8. Install the wheels back on and enjoy you're new ride style! Here are some pictures of the differences between the coilovers- weight wise. 3lb per coilover, not bad. Lower, and lighter.
    • Install the wheels back on and enjoy you're new ride style!

    • Here are some pictures of the differences between the coilovers- weight wise.

    • 3lb per coilover, not bad. Lower, and lighter.

Finish Line

One other person completed this guide.

Dung Nguyen

Member since: 03/27/2013

842 Reputation

49 Guides authored

0 Comments

Add Comment

View Statistics:

Past 24 Hours: 0

Past 7 Days: 0

Past 30 Days: 2

All Time: 2,211

Copyright© 2019 Moddit